 Shhhh! Don't anyone tell NoahFentz, but I finished my latex skull mold. Well, just a final coat of latex later on today and it will be complete but for all intents and purposes, it's done. We can't tell him though because I promised to take my time doing this and it should have taken a few more days to complete. As it is, I did it in just two-plus days!
For those of you who haven't made a latex skull mold (or any latex mold for that matter), it's a process of layering latex and gauze over the item you want to replicate. In my case, a skull. Once it's demolded -- that is the latex is removed from the base -- I'll be able to make and remake out of plaster of Paris endless copies of the skull.
But it's important to let each layer of latex and gauze dry thoroughly before applying the next layer and NoahFentz made me promise to essentially apply just one layer a day, meaning it should have taken me a good four or five days to complete, not two. But impatient as I am I hurried up the process by having it dry in front of a small fan so that within several hours time each layer was dry and I could apply the next.
I've seen some attempts on YouTube where things were rushed and the results were not pretty. But it seemed that the problem with those failures was related to not apply enough layers as opposed to not letting it dry properly.
By doing it in such a way, you end up with approximately 10-12 layers of latex after the final single layer of latex is applied. Basically there are four layers of gauze in between all the latex layers. But you end up with a nice thick, durable mold that should last years and years and allow you to churn out endless replicas of whatever it is you're copying.
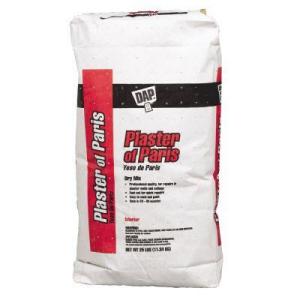
 A 25-lb. bag of plaster of Paris should be able to produce 14 life-size skulls, so long as you mix it to a proper consistency and apply two coatings (I thought it was an odd number, but NoahFentz says that's what he's found a bag can produce). Since a bag goes for just over $11 at Home Depot, you can make reproduction skulls for about $1.30 a piece. That's pretty cheap.
I've got in mind covering my entire front steps with skulls, along with making catacomb walls. Of course it will take a little time to produce that many skulls (and I want to make a few candle-in-the-skulls too) so I don't want to get too ahead of myself. But it will be worth the time and effort.
And I'm just curious, but does anyone know how people began eating bleu cheese? I mean, that is mold after all. Can you imagine the conversation? "Mmmm! Cheese that's turned moldy. I want some of that!"
Update
 |
| Demolded mold |
 |
| Looking inside mold |

wiseguy!(said like Curly from the 3 stooges)
ReplyDelete